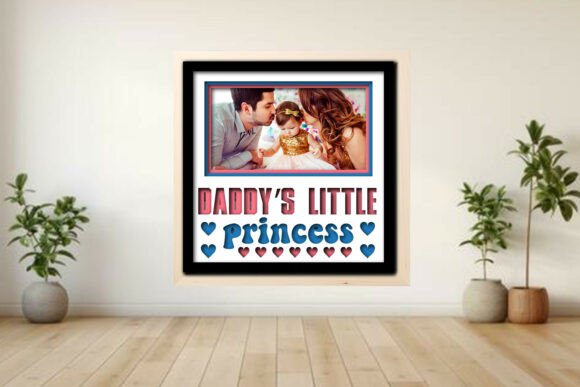
Daddy’s Little Princess Photo Frame: A Charming Way to Preserve Memories
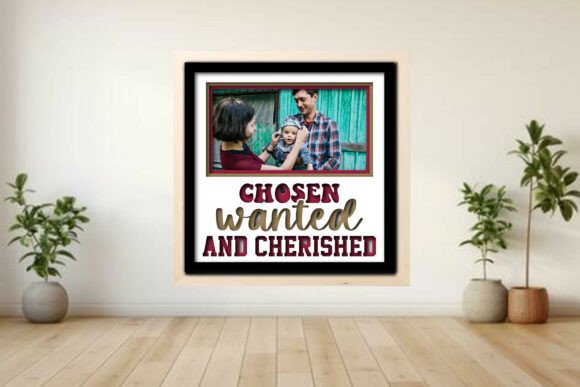
The Daddy’s Little Princess Photo Frame is more than just a decorative project—it’s a heartfelt way to preserve cherished moments between fathers and their daughters. Designed as a layered shadow box, this digital file allows crafters to create a personalized, 3D-style display using materials like 3 mm plywood or acrylic. Compatible with Glowforge®, xTool®, OM Tech, Cricut®, and Silhouette® machines, it’s a versatile option for both hobbyists and small business creators looking to add meaningful decor to their offerings.
Why People Love the Daddy’s Little Princess Photo Frame
This project resonates with many because it combines sentimentality with creativity. Whether as a gift or a personal keepsake, the frame’s layered design adds depth and visual interest, making photos stand out in a unique way. The ability to choose from 1, 2, 3, or 6 photo layouts means users can tailor the project to their specific memories and display needs. Plus, the inclusion of decorative elements like “Santa squad,” trees, and stars makes it especially popular around the holidays.
Common Mistakes and How to Avoid Them
While the Daddy’s Little Princess Photo Frame is a fun and rewarding project, there are several common pitfalls that can lead to frustration or subpar results. Being aware of these issues can help ensure a smoother crafting experience and a more polished final product.
1. Skipping the Material Test
One of the most frequent oversights is not running a material test before cutting the full design. The file is tested in LightBurn on 3 mm plywood, but settings can vary widely depending on your machine, material type, and thickness. Jumping straight into the final cut without testing can result in undercuts, over-burns, or pieces that don’t fit together properly.
Better Approach: Always test a small section of the design on your intended material first. This allows you to adjust power, speed, and focal settings to ensure clean cuts and accurate engraving.
2. Assuming the Design Fits All Photo Sizes
The frame is scalable, which is a big plus, but some users mistakenly assume that resizing the file won’t affect the overall structure or spacing of the layers. Resizing without considering how it impacts the shadow box depth or photo placement can lead to a misaligned or awkward final look.
Better Approach: When adjusting the size, check how each layer scales proportionally. You may need to tweak individual components to maintain the intended 3D effect and ensure your photos fit snugly.
3. Overlooking Assembly Instructions
While the design is labeled as “simple assembly,” skipping the included PDF guide can lead to confusion. The layers are color-coded (red for cut, blue for score, black for engrave), but without understanding how each piece fits together, users may end up with a disorganized build.
Better Approach: Review the assembly guide before starting. Lay out all pieces and follow the step-by-step instructions to ensure proper alignment and layering. This will save time and reduce the risk of errors.
4. Using the Wrong File Type for Your Machine
The Daddy’s Little Princess Photo Frame comes with multiple file formats (SVG, DXF, PDF, EPS, PNG, and LBRN2), but not all file types work equally well with every machine. For instance, LBRN2 is specific to LightBurn, while DXF may be more compatible with certain laser software.
Better Approach: Confirm which file type is best suited for your machine and software. If unsure, open the file in your design program before cutting to check for any import issues or layer misalignments.
5. Expecting Photo Mocks to Be Included
Some buyers mistakenly assume that the digital download includes photo mockups or sample images to use in the frame. However, the package does not include mock photos—those must be added separately by the user.
Better Approach: Have your photos ready before assembling the frame. Choose high-resolution images that complement the layout and theme of the design for the best visual impact.
What to Check Before Downloading or Using the Frame
Before purchasing or starting your project, consider the following to ensure a successful outcome:
- Machine Compatibility: Confirm that your cutting or engraving device supports the file formats included.
- Material Thickness: The design is tested for 3 mm plywood, but if you’re using a different thickness, you may need to adjust the design or settings accordingly.
- Software Requirements: Ensure your design software can open and properly interpret the file type you plan to use.
- Assembly Skill Level: While the guide is straightforward, if you’re new to layered shadow boxes, it’s a good idea to start with a smaller project first to build confidence.
- Intended Use: Decide whether you’re making this for personal use, gifting, or resale. If selling, check licensing terms to ensure commercial use is permitted.
Final Thoughts
The Daddy’s Little Princess Photo Frame is a beautiful and meaningful project that blends craftsmanship with personal storytelling. By being mindful of potential pitfalls—like skipping material tests, assuming universal compatibility, or overlooking assembly instructions—you can create a stunning display that lasts for years. Whether you’re a seasoned maker or just starting out, this layered shadow box offers a rewarding way to celebrate cherished memories with a touch of holiday charm and personal flair.